
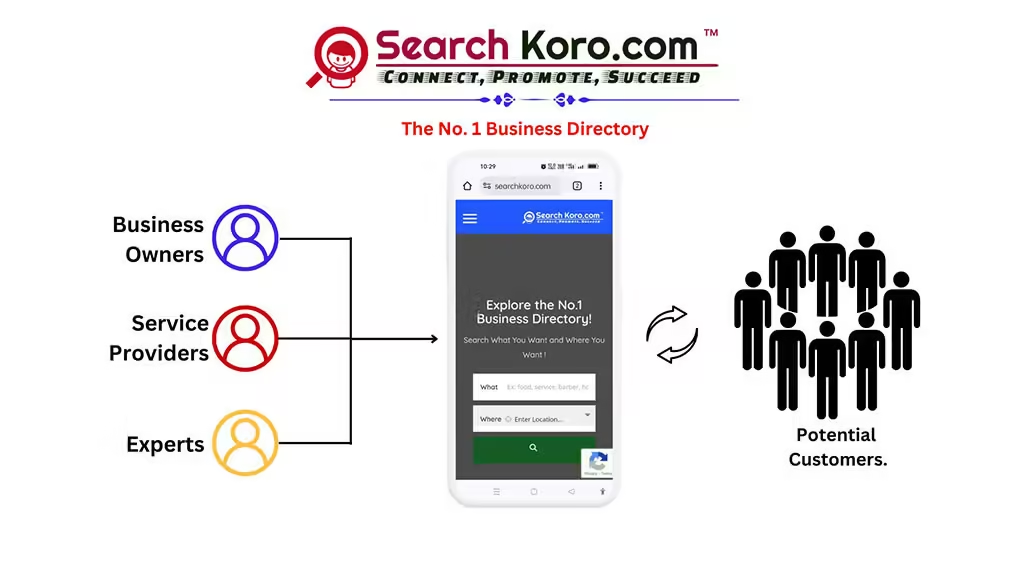
Register your business on Searchkoro.com!
Hey! Business owners, service providers, and experts! Are you tired of chasing customers like it’s a never-ending game of hide-and-seek?
Feeling lost in the vast ocean of e-commerce while your competitors ride the wave?
Imagine a world where customers find you with just a click, where your expertise shines like a beacon in the digital fog. Say goodbye to the days of struggling for visibility and hello to Searchkoro.com, your ultimate business sidekick!
With Searchkoro.com, you’re not just another name in the crowd; you’re the star of the show. Boost your online presence, connect with your ideal customers, and watch your business grow faster than ever. Who knew getting noticed could be this easy?
Don’t let the digital revolution leave you behind! Register on Searchkoro.com today and let your business shine like never before. Your customers are out there—make sure they find you!
Register Your Business on Searchkoro.com to Grow!
Indeed, starting your business journey online can feel overwhelming, but registering your business on SearchKoro.com is simple and straightforward.
Why Registering on SearchKoro.com – Boosts Your Business Visibility
Registering your business on SearchKoro.com not only helps you reach local customers but also enhances your online presence.
Being listed on a trusted platform like SearchKoro.com can significantly improve your business’s discoverability on search engines like Google.
However, this guide will walk you through each step, ensuring that your business is live and ready to attract customers in no time.
How to Register a Business on Searchkoro.com?
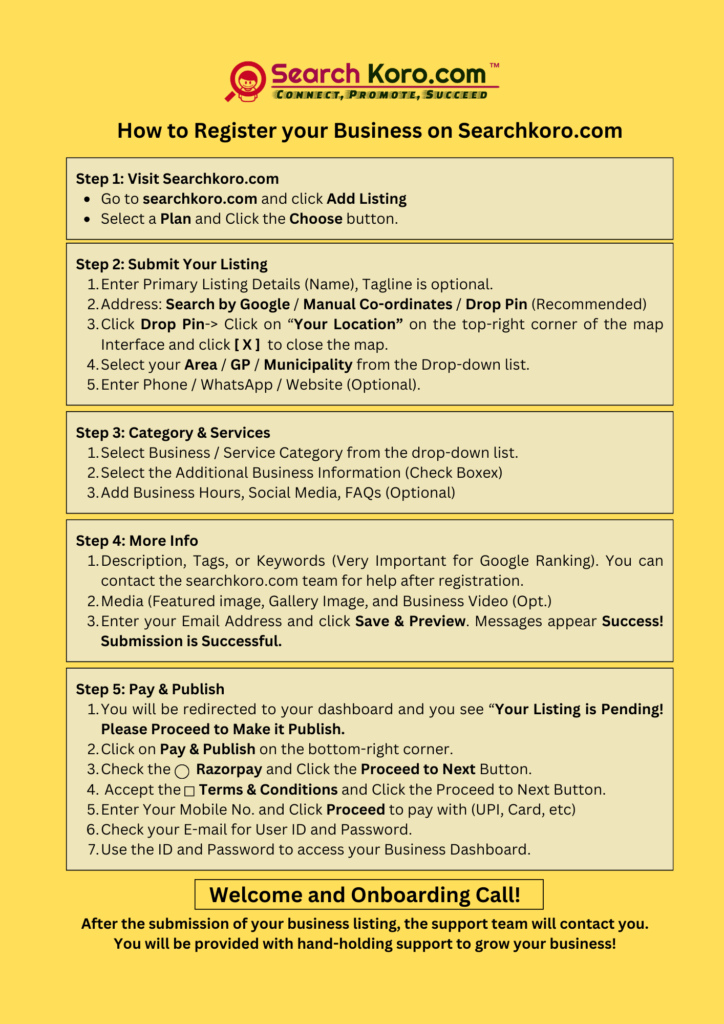
Step 1: Access the SearchKoro.com Website
Moreover, to begin, open your web browser and go to SearchKoro.com.
- On a PC or Laptop: Look for the “+Add Listing” button on the top right corner of the homepage and click it.
- On a Mobile Device: Tap the three vertical lines (often called the “hamburger menu”) at the top left corner of your screen, then click on “Add Listing.”
Step 2: Choose Your Plan
Then, after clicking “Add Listing,” you’ll be taken to the “Select Your Plan” page. Here, you’ll see three options:
- Premium
- Basic
- Starter
Select the plan that suits your business needs by clicking the “Choose Plan” button below your chosen option.
Step 3: Submit Your Listing Details
Next, you’ll be directed to the “Submit Your Listing” page. Here’s what you need to do:
Add Primary Listing Details:
- Business Name, Service Name, / Expert Name: Enter the name of your business. If you have a tagline, you can add it here, or leave it blank if you don’t have one.
- Full Address: Instead of typing your address, use the “Drop Pin” feature. Click the “Drop Pin” button, and a map will appear. Find and click the “Your Location” button at the top right of the map. Ensure that your device’s location services are activated. Once your location is captured, click the “X” to close the map. Your address will be automatically added.
- Select Your Region: Type the first few letters of your area, Gaon panchayat, or municipality. When it appears in the drop-down, select it.
- Phone Number: Enter your business phone number.
- WhatsApp Number: Provide your WhatsApp contact.
- Website Address: If your business has a website, add the URL here.
Select Category & Service:
- Select your business category from the drop-down list.
- Check the boxes that relate to your business in the “Additional Business Information” section.
- Set your business hours.
- Add the URLs of your social media profiles (Instagram, Facebook, YouTube, LinkedIn, and Twitter).
Frequently Asked Questions: FAQs:
Add common questions and answers about your business to help potential customers understand what you offer.
Business Information:
Provide a detailed description of your business. If you need help with this, contact the SearchKoro.com support team.
Add Tags or Keywords:
Keywords are crucial for online discovery. Add relevant tags that describe your business. Again, you can get expert advice from the SearchKoro.com support team.
Business Video:
If you have a promotional video, upload it. If not, consider creating one with the help of the SearchKoro team.
Images Gallery:
Upload high-quality images of your products or services to attract more customers. The SearchKoro team can assist with this as well.
Email Address:
Enter a working email address where you’ll receive your User ID and password from SearchKoro.com.
Step 4: Agree to the Terms
Now, mark the checkbox next to “I Agree” to confirm that you accept the terms and conditions.
Step 5: Save and Preview
Now, click the “Save & Preview” button. Wait a few seconds, and you should see a “Successfully Submitted” message. You will then be redirected to your dashboard. A message will appear on the screen: “Your Listing is Pending! Please Proceed to make it publish.“
Step 6: Pay and Publish
Consequently, at the bottom of your screen, you’ll see a green “Pay & Publish” button. Click it to go to the payment checkout page.
- Select the radio button next to “Razor Pay.”
- The “Proceed Next” button will turn green—click it.
- Check the box next to “Terms and Conditions” to activate the “Proceed to Next” button. Click it.
- On the payment page, choose your preferred payment method:
- UPI/QR
- Card
- Net Banking
- Wallet
- Click the “Pay Now” button to complete your payment.
Step 7: Confirmation
Immediately, once your payment is successful, you will receive an email and a verification call from SearchKoro.com. And then, your business profile will then go live.
Conclusion
Therefore, registering your business on SearchKoro.com is a vital step to make your business visible online. However, following this simple guide, you can easily set up your listing, reach more customers, and grow your business.
Again, if you need any help along the way, remember that the SearchKoro.com support team is always available to assist you.
Watch the Video Tutorials in English.